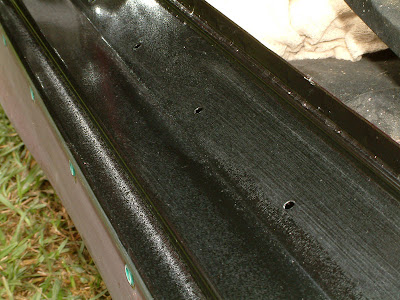
Time to even out any imperfections in the body with a bit of body filler and hi-fill primer, then the beast will be ready for final sand and paint.
The paint on the roof and front of the bonnet had cracked and peeled quite badly, as well as having stone chips across the front. I have to sand these areas quite deeply, and back to metal in some places; it is these areas which will need the most work.
Anywhere bare metal was showing needs etch primer. I just used a quality brand (Wattyl) of etch primer in a can to do this. Easy.
Now time to mix the primer. Once again follow the mixing ratios from the manufacturer; my primer was mixed 2:1 with hardener. I used this mix in the heavily sanded areas and anywhere etch primer was used. Then I thinned it down with 15% thinners for the remainder of the car. The reason for thinning was because the body was quite straight and it really didn't need such a thick coat of hi-fill.
Applying primers is a piece of piss. The only real advice I can give here is that primer dries quickly and makes a mess of your gun and mixing tools. Make sure you clean it as soon as you can otherwise you will be left with clogged and messy equipment.
Below is a progress picture of the car in primer, ready for sanding.
A lot of people out there are asking about painting a car yourself, but rarely can I find a real experience of how the whole process went from start to finish. So here is a hopeful man's experience with his first attempt at painting a car... wish me luck.
Thursday, 17 May 2012
Thursday, 10 May 2012
Repairing and Blending
In my earlier post 'Painting the Door Jambs', I mentioned how condensation of water on my freshly painted surfaces ruined it. Now it is time to repair the damage and blend the paint.
I rubbed back the damaged ares with wet 800 grit sand paper. I only rubbed back until I was through the damage, which was mainly in the clear, so I tried not to go right through the base coat. Below you can see the damaged area before and after sanding.
I rubbed back the damaged ares with wet 800 grit sand paper. I only rubbed back until I was through the damage, which was mainly in the clear, so I tried not to go right through the base coat. Below you can see the damaged area before and after sanding.
At this point, it was time to apply the three coats of base coat, which I fanned off at the point where the sanded and non-sanded surfaces meet. Then it was time for two coats of clear, then a coat of clear with about 15% reducer (thinnners). The clear was also fanned off at the ends and the reducer was used to help keep the fanned edges looking wet and prevent the dry spray on the ends.
I was also given advice by a painter to apply straight thinners to finish off the blending. I was very skeptical about doing this, but with nothing to lose (well nothing I couldn't fix again), I decided to give it a go. I added a small amount of thinners to my gun cup and touched up the ends. Be very careful doing this because thinners, as the name suggests, will thin the paint and cause runs. When doing this make sure you adjust your gun to a fine, light spray because you don't want apply a heavy coat of thinners over your new paint and cause it to run.
In the end I couldn't be happier with the result, nicely blended paint, you can't even tell where the new and old paint meet. Below is a picture of the newly painted door jamb.
Now I just have to apply hi-fill primer the body as it is ready for the big event... woohoo.
Subscribe to:
Posts (Atom)


